ExtendedInstallationGuide
A universal guide for installation of RunaWFE distributives to Windows OS
RunaWFE Free Workflow System (BPMS) Version 4.5.0
© 2003 - 2015, Consulting Group Runa
© 2015 - 2026, "Process Technologies" Ltd, this document is available under GNU FDL license. RunaWFE Free is an open source system distributed under a LGPL license (http://www.gnu.org/licenses/lgpl.html).
# General information
Supported versions of MS Windows
Versions of the OS later than MS Windows 2000 are supported
Variants of RunaWFE distribution
Distributed in the form of an EXE program file or ISO images that may be recorded on a disc.
EXE:
For a 32-bit operating system
RunaWFE-*-Wildfly-java8_32u.exe
For a 64-bit operating system
RunaWFE-*-Wildfly-java8_64u.exe
ISO:
(universal image 4.4.1-, automatically defines the bitness of operating system)
For a 32-bit operating system installer-wildfly-java8_32.iso
For a 64-bit operating system installer-wildfly-java8_64.iso
Note. Since version 4.3.0, java 8 support and java 6 rejection are added.
1). installer-wildfly-java8_32.iso - a distributive for a 32-bit Windows with java8 support, uses WildFly Full 10.0.0.Final application server
2). installer-wildfly-java8_64.iso - a distributive for a 64-bit Windows with java8 support, uses Wilfdly Full 10.0.0.Final application server
3). installer-jboss-java7_32.iso - a distributive for a 32-bit Windows with java7 support, uses Jboss AS 7.1.1.Final application server
4). installer-jboss-java7_64.iso - a distributive for a 64-bit Windows with java7 support, uses Jboss AS 7.1.1.Final application server
# Preparations to installation
- Save the Path variable value Make a copy of the system variable "Path" just in case. To do that carry out the following actions depending on the version of your operating system. Windows 8 (8.1) 1). Open "Control panel" by means of one of the following methods
- drag the mouse cursor to the bottom right corner of the screen, click the "Search" icon and enter: control panel
- press Win+x key combination and in the opened context menu select Control panel.
- java deinstallation Before RunaWFE installation it is necessary to uninstall java, including all the updates regardless of version and architecture. For example,
- Current RunaWFE deinstallation If there is already a RunaWFE in the system (does not matter which version and architecture it is), you also need to uninstall this software For example,
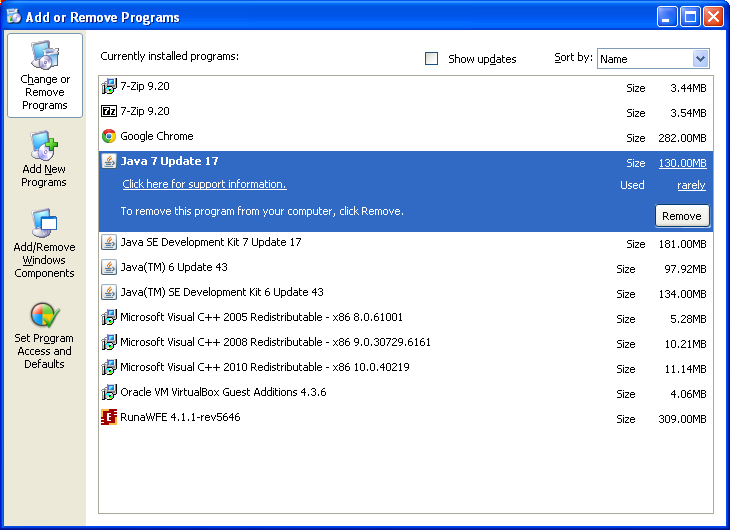 You can see from the image that “Java SE Development Kit 7 Update 17”, “Java 7 Update 17”, “Java(TM) SE Development Kit 6 Update 43” and “Java (TM) 6 Update 43” programs are installed to the system. It is necessary to uninstall all 4 versions.
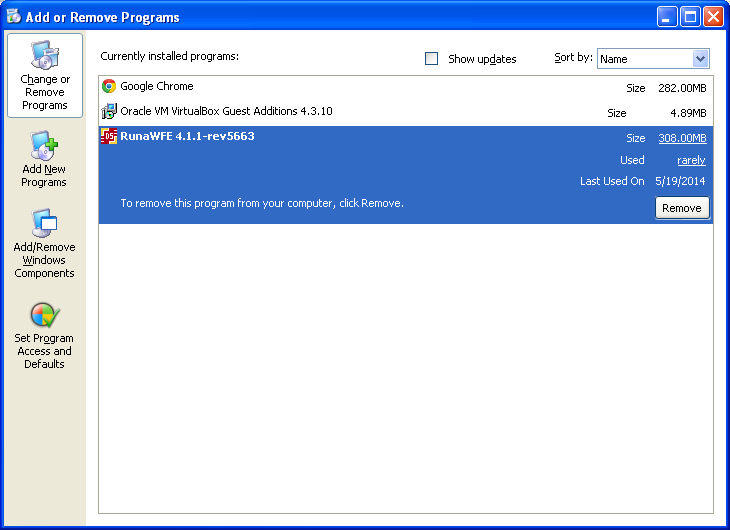 There is a RunaWFE 4.1.1 installed in this system.
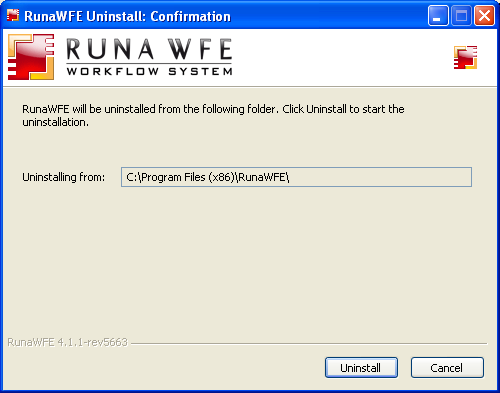
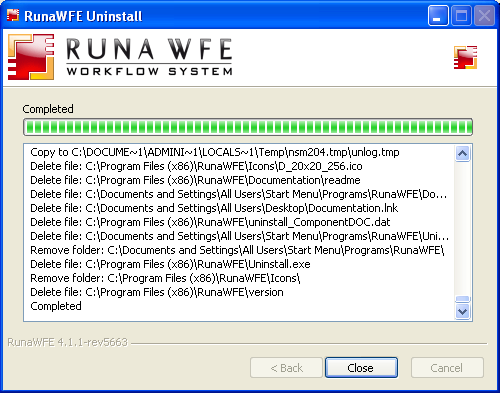
Launch its uninstallation,
# RunaWFE installation
Insert the disk into the CD-rom (if the distributive is on a CD) or launch RunaWFE-Installer.exe (if the distributive is in the form of a program file).
Press "Install", a message of an LGPL license will appear, which you have to accept by pressing "I accept".
Note:
If a warning appears, which says that another version of RunaWFE is installed in the system, that means you did not follow point 2 of the "Preparations to installation" section of this very guide.
Press "NO", close the installer and go back to the "Preparations to installation" section.
If the situation described above does not occur, a selection form appears, which asks you whether the client or the server components of RunaWFE should be installed.
Select "Install RunaWFE client applications" and press "Next".
You should check all the client components.
Use the installation folder offered by default, press "Next".
It is necessary to check the boxes in front of "Remove old server simulator database and set up a new database (with demo processes)" and "Remove old (remained after previous installations) demo processes and set up new ones"
Press “Next”, then press "Next" again.
On the form that comes after you will see a message about the necessity of JDK installation. Press "Install".
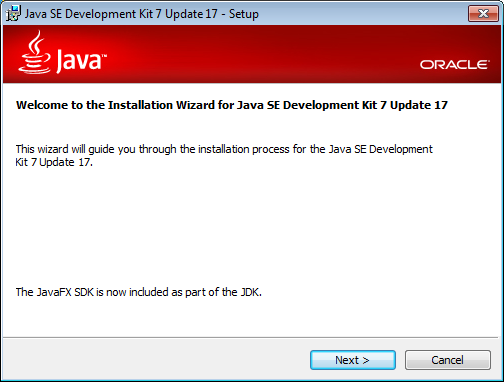
A java installer will open,
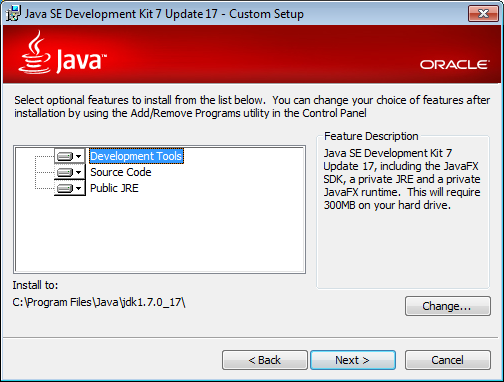
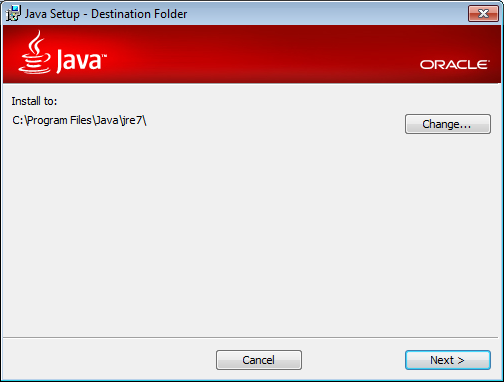
Install java using the parameters offered by default.
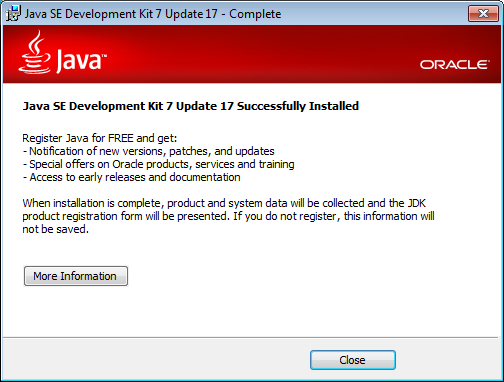
Press Close to finish java installation and go back to the RunaWFE installer.
If a system variable "JAVA_HOME" is wrong or missing, you will be offered to install it.
Press "Install".
Press "Done" when the installation of RunaWFE is finished.
# Changing the port used by RunaWFE
By default RunaWFE uses port 8080, however this port may be occupied by third-party or system software. In this case you will have to redefine it.
To do that go through the following steps:
-
- Open "My Computer" and go to the folder with the installed RunaWFE. By default the program is installed in
C:\Program Files\RunaWFE\
Note. If your OS is 64-bit, RunaWFE is installed in the folder
C:\Program Files (x86)\RunaWFE\
- Go to the folder ..\RunaWFE\Simulation\standalone\configuration\
- Open the file Standalone.xml in Notepad text editor Warning, this file is a RunaWFE basic settings file, so it is recommended to save its copy before editing it.
- Press Ctrl+F key combination and search "8080"
- Change port="8080" into port="28080"
- Save the changes Note. The new parameters will be applied only after server restart.
# Installed software check
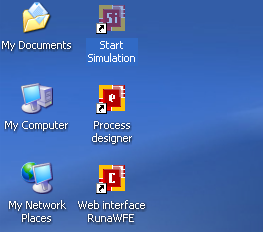
Start RunaWFE simulator. You can do this, for instance, by means of the Start / Programs / RunaWFE / Start Simulation command, or by means of the corresponding desktop shortcut
After the launch of the simulator a console window will appear. The lines «…JBoss AS 7.1.1.Final "Brontes" started in …» «…INFO [org.jboss.as.server] … Deployed "runawfe.ear" mean that the simulator is successfully launched.
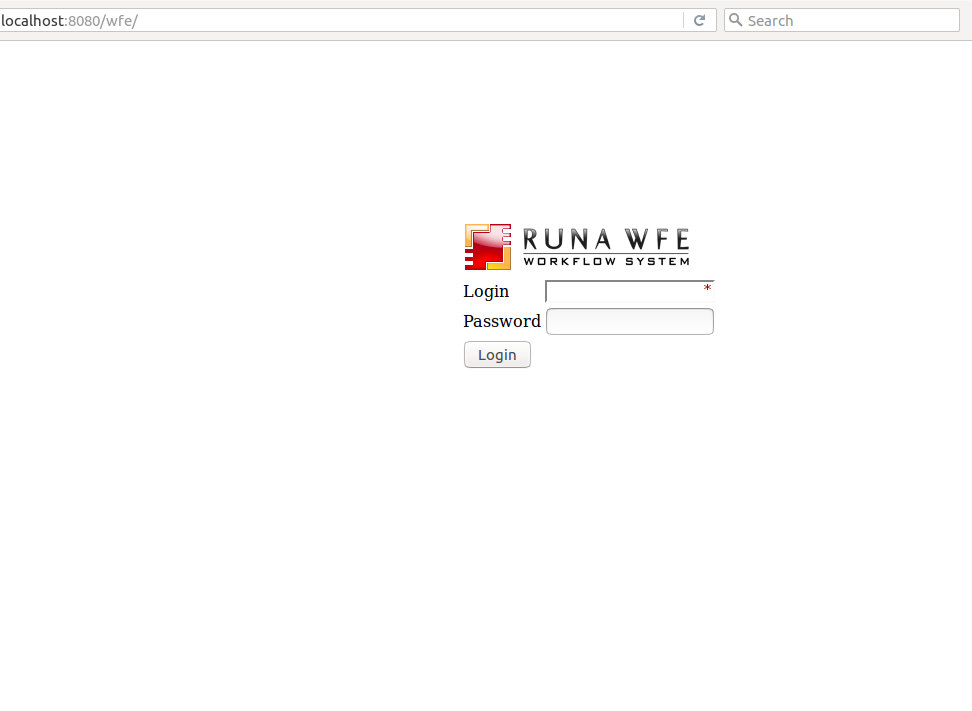
Open a web-interface at the following URL:
Note. If the port was changed, than the web-interface will be available at the similar link but with another port number. For example, http://localhost:28080/wfe - port 28080 is used here
A user login and password entry page should open.
Launch Developer Studio by means of “Process Designer” desktop shortcut,
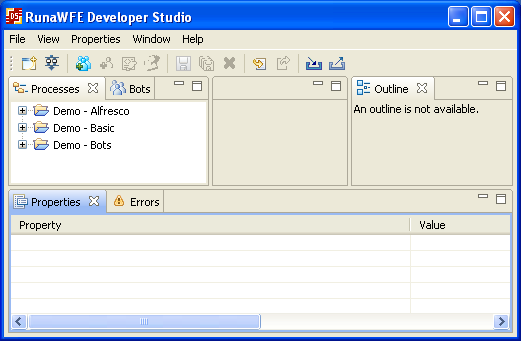
If a window of the following form appears
that means the installation of the Developer Studio (process designer) was done properly.
If any problems occur after the launch of simulator or developer studio, close the programs and repeat the installation, starting from the very first step "Preparations to installation".
